Connect to a remote Linux Installation using SSH #
Windows #
Option 1: Built-in SSH (Windows 10 and higher) #
Windows 10 and higher ship with a built-in OpenSSH Client
Verify OpenSSH is installed on your computer by opening a command line prompt and executing ssh -V. If you see an output similar to the following, you have OpenSSH installed:
C:\>ssh -V
OpenSSH_for_Windows_8.1p1, LibreSSL 3.0.2
In order to connect to an SSH Server you need the following:
- The IP Address or FQDN of the server
- The username of the account and
- Either the password or the private key (.pem) of the account you want to connect to
The syntax for connecting to an SSH Server is as follows:
ssh <username>@<server-ip|FQDN> -i <private-pem-key-file>
Example:
- IP:
10.0.0.1 - Username:
ubuntu - Private key file:
c:\users\ipse\ssh\workhaus.pem
ssh ubuntu@10.0.0.1 -i c:\users\ipse\ssh\workhaus.pem
Option 2: Putty SSH Client #
Install Putty from here.
Without private key #
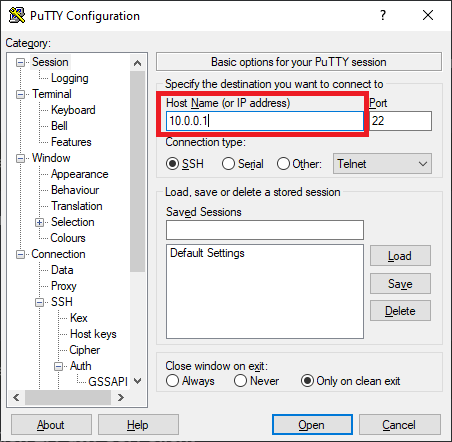
Open Putty, enter the server IP or FQDN and click on “Open”. A shell window will open which queries you for the username and password.
With private key #
When using Putty, the private key file needs to be in the Putty key file format ppk. If your key file is in the pem format
(as for example generated by AWS) you need to convert it to the Putty format first. You can use puttygen for that (see below).
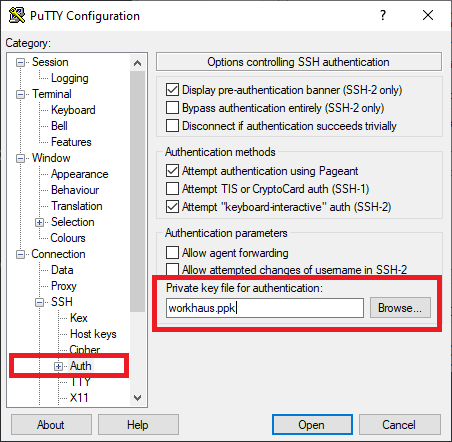
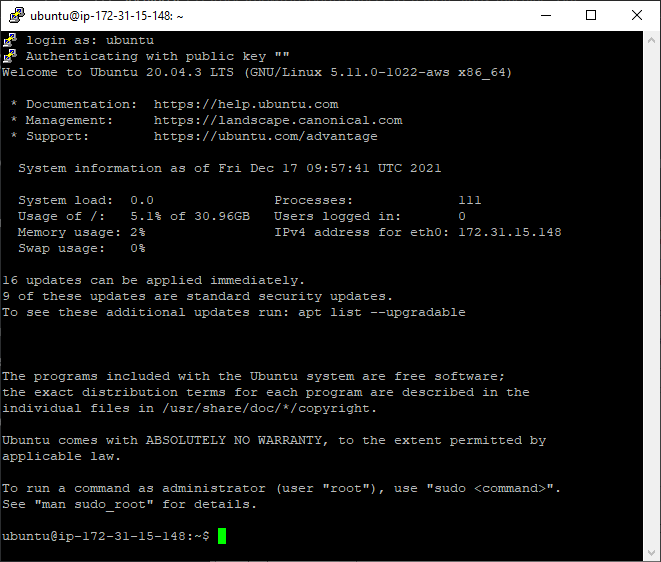
Click on “Open” and a shell window will open where you need to enter your username and also the passphrase for the PPK key file if any was specified.
Optional: Convert PEM to PPK #
Download puttygen from here and open it. Click on “Import Key” in the Conversions menu and select your pem key file.
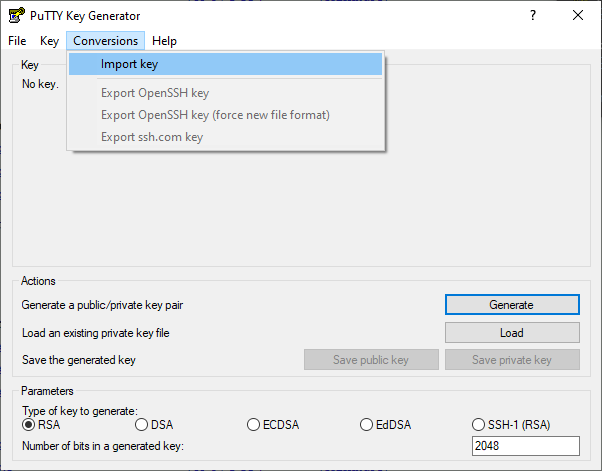
I recommend adding a comment to the key to identify it. If you want, you can also save the key with a passphrase.
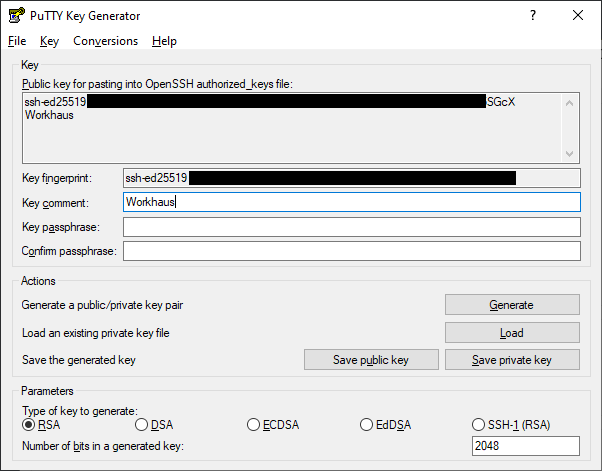
Click “Save Private Key” to save the PPK file which can be used by Putty.