Create an Ubuntu Server EC2 Instance with a public IP address #
Steps #
- Open the EC2 Dashboard
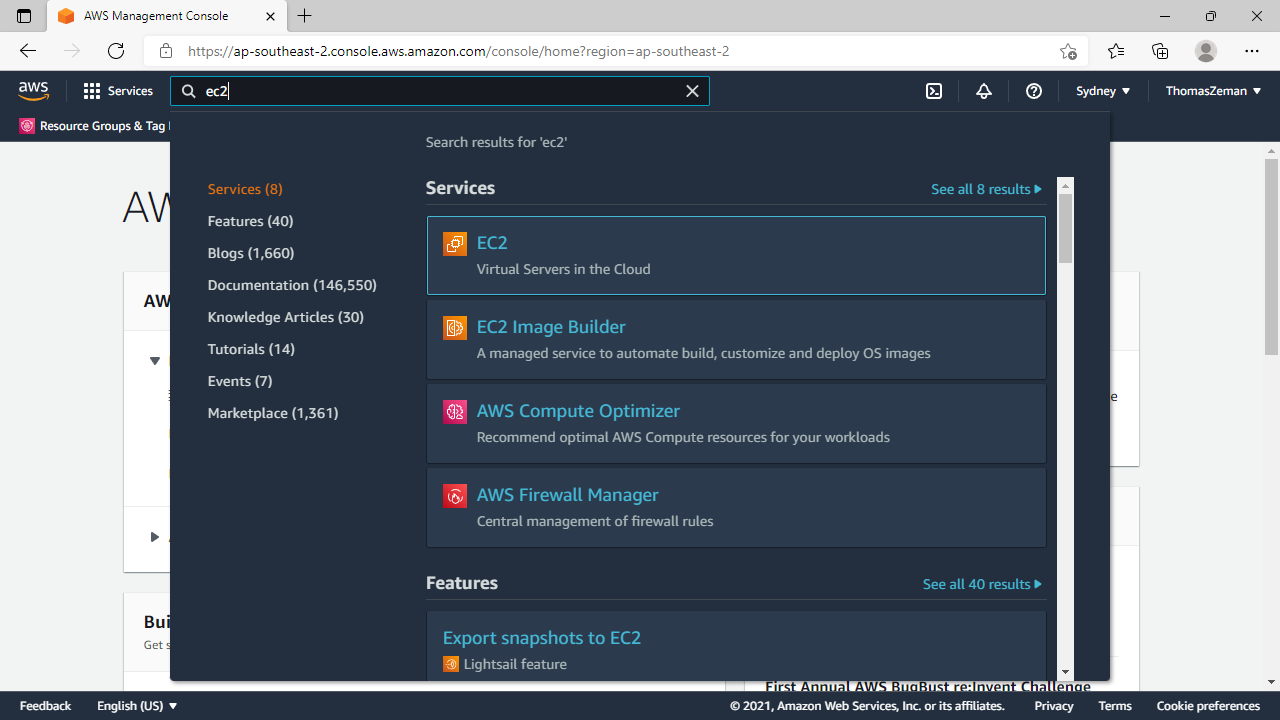
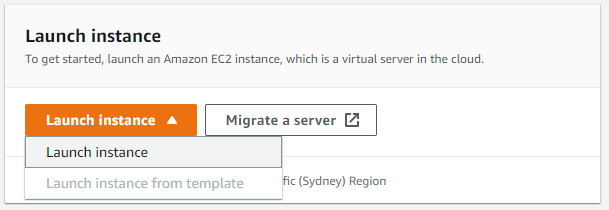
- Click on Launch Instance
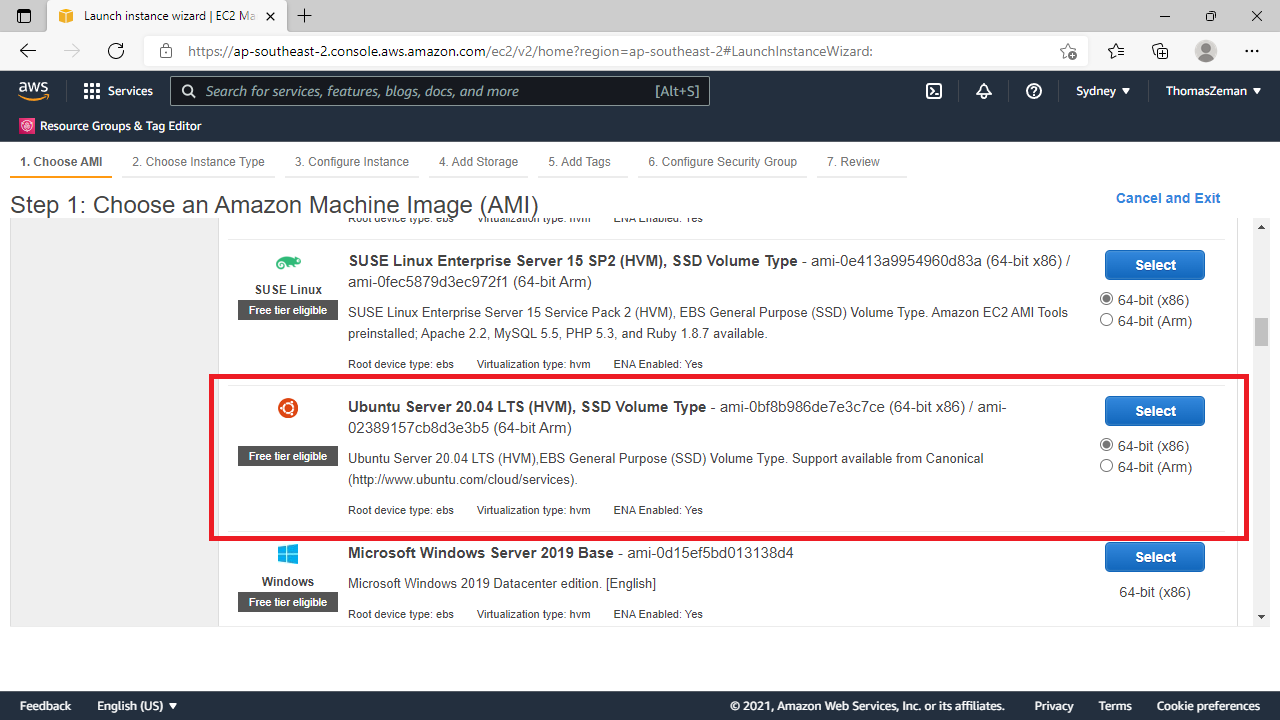
- Select Ubuntu Server 20.04 LTS
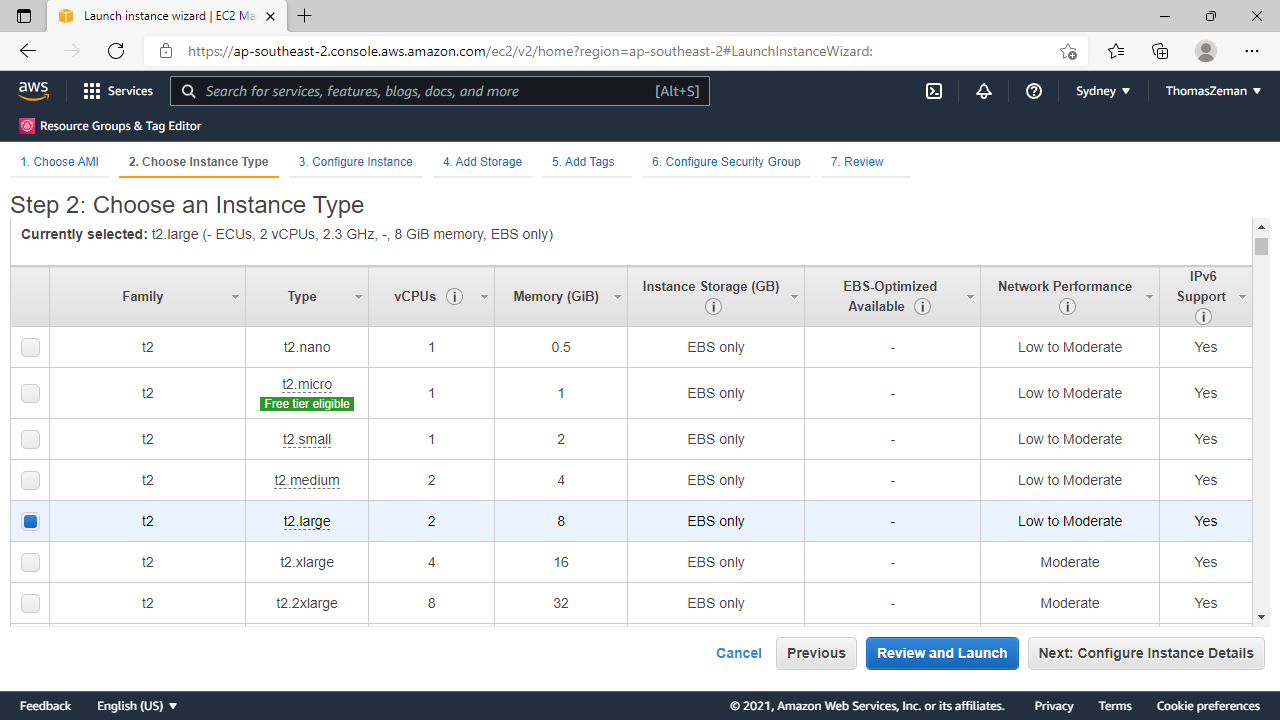
- Choose Instance Type
Select an appropriately sized machine for your workload. Below I chose t2.large which comes with 2 Virtual CPUs and 8GB of RAM.
Click “Next: Configure Instance Details”.
- Configure Instance
The default configuration is fine for most workloads. Make sure “Auto-assign Public IP” is enabled for the selected Network. Click “Next: Add Storage”.

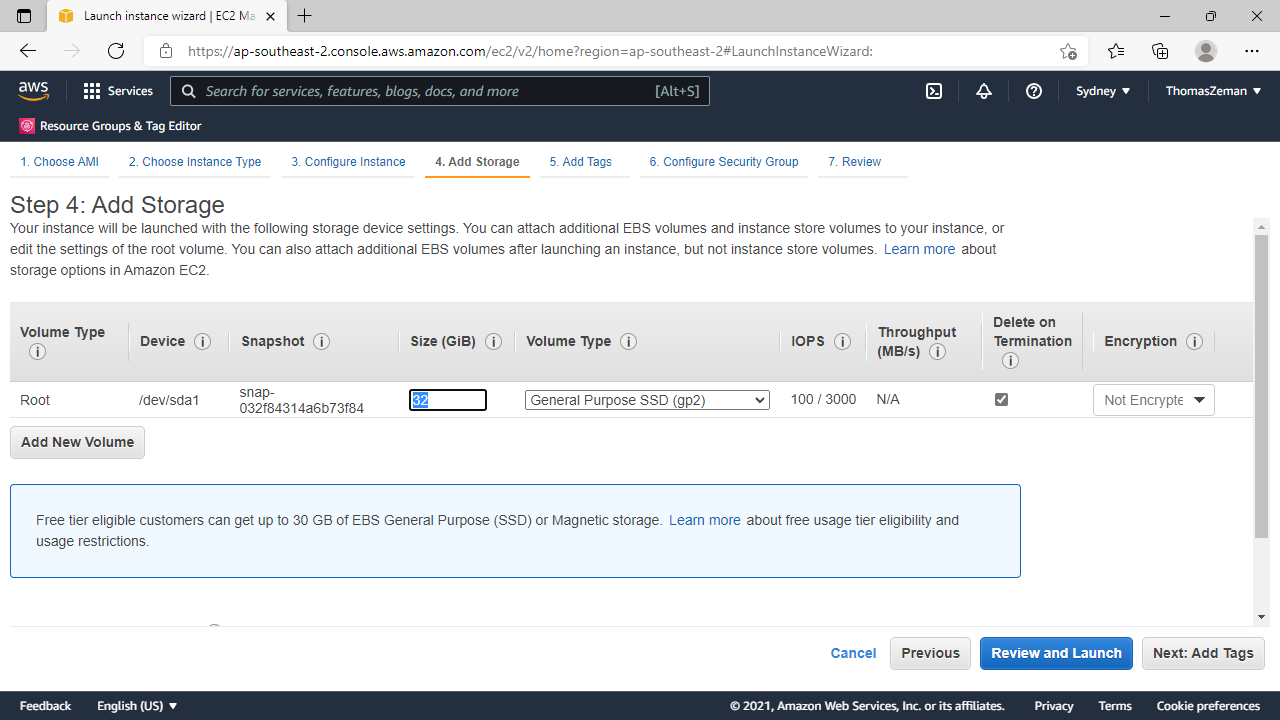
- Add Storage
Adjust the size of the root volume to your needs. I chose a size of 32GB in the screenshot. Click “Next: Add Tags”.
- Add Tags
Specify tags for the instance or leave blank. Learn more about tags. Click “Next: Configure Security Group”.
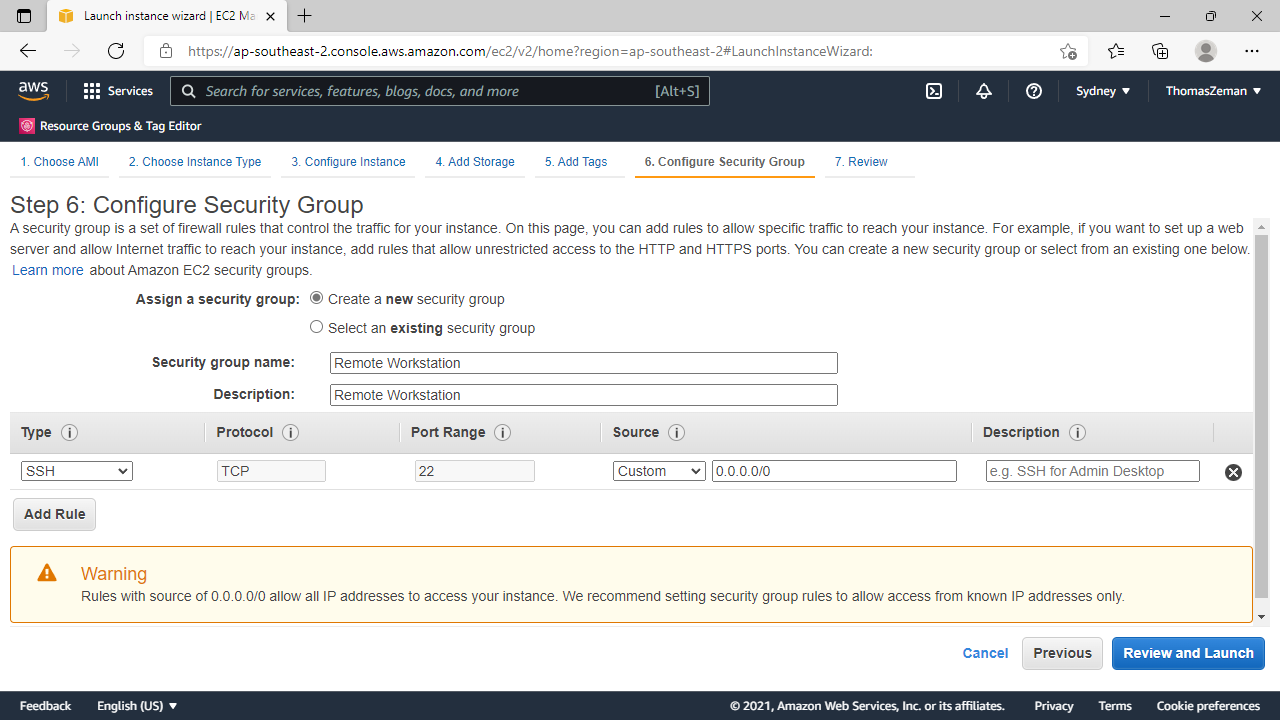
- Configure Security Group
Add rules to the security group to allow network access to the instance. The settings below allow inbound SSH traffic (TCP Port 22) from any source IP.
Note: It is a good practice to make the rules as restrictive as possible. For example only allow SSH traffic from those IPs from which you will be connecting to the machine.
Learn more about security groups.
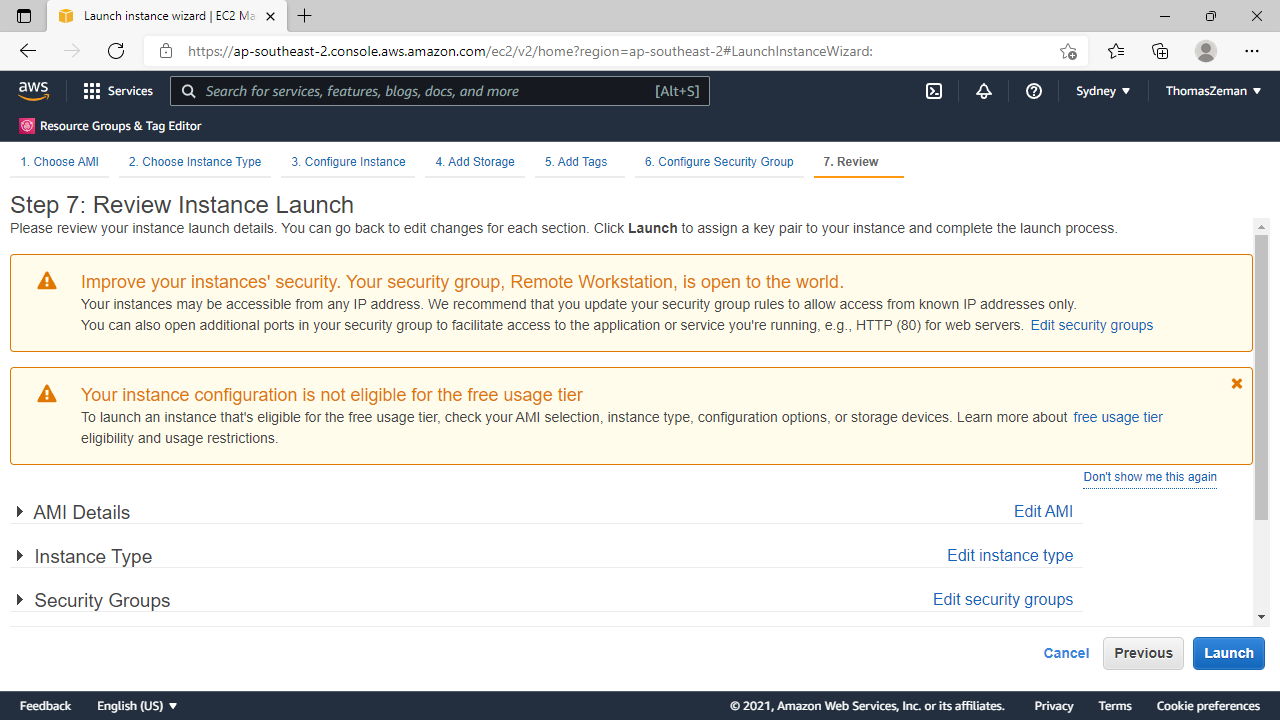
- Review Instance
If you like you can review the instance details before creating it. Click “Launch”.
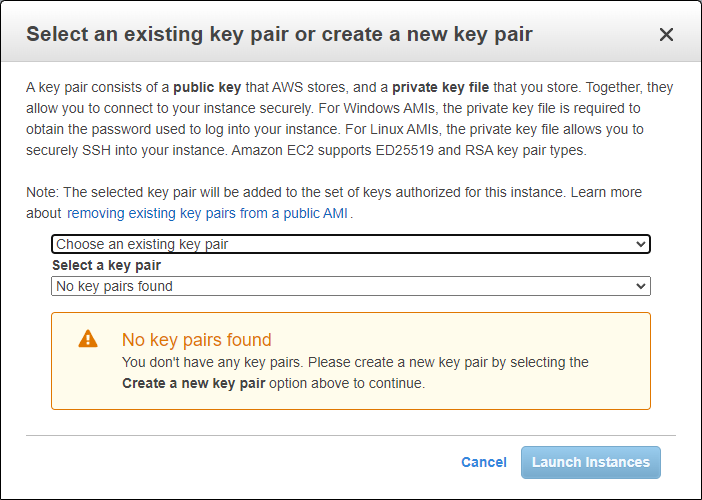
- SSH Key Pair
Either create a new or use an existing SSH key pair. If you create a new key pair, you will have to download the keys and save them somewhere.
Warning: This is the time you will be able to download the private key
- Launch
Click on “Launch Instances” and AWS will launch the new EC2 instance.
Note: A running EC2 instance is causing constant costs. It is advisable to stop the instance when you don’t use it.
Learn more about the pricing of AWS on-demand computing.
What’s Next #
Next: How to install the Xfce Desktop on a EC2 machine
Next: AWS EC2 Documentation