Install Alpine Linux on a Raspberry PI #
This how-to walks you through the installation of the 64-bit Alpine Linux on a Raspberry PI 3 or 4 in sys mode (also known as “classic mode”).
Introduction #
Alpine knows three different types of installation:
- Diskless Mode - Everything runs from RAM. The boot partition is mounted read-only
- Data Disk Mode - As “Diskless” but some directories (e.g. /var) are mounted from a storage device
- System Disk Mode - Traditional hard drive installation
Depending on your requirements you might prefer “Diskless Mode” for example if you want to prohibit users from making changes to the system. It also helps reduce the wear of the SD card. However, running everything from RAM seems not to be well suited for Raspberry PIs with 1GB of RAM or less and the “System Disk Mode” might be more appropriate.
Preparing the SD Card #
All Raspberry PIs can boot from an SD Card on which you need to install an operating system first. This cannot be done on the PI itself but requires a separate machine with an SD Card reader. Here we are using Windows and an external USB SD Card reader but the procedure is the same on Mac OS or Linux.
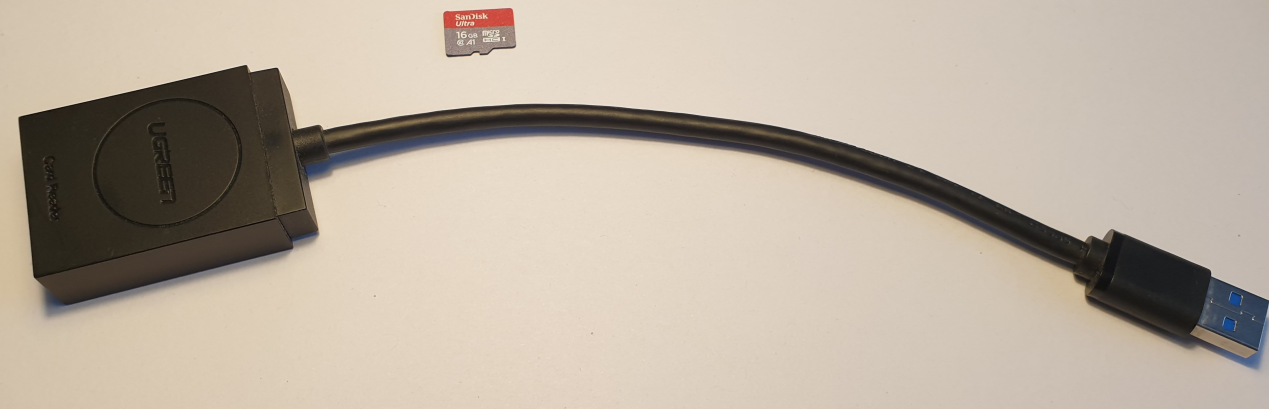
If you do not have an SD Card yet, have a look at this article on Tom’s Hardware which discusses the suitability of a few different SD Cards used together with a Raspberry PI.
Partitions on the SD Card #
Partitioning is the process of dividing the SD Card into logical parts. For the System Disk Mode installation, we will work with two partitions, one for booting and loading the kernel and one for the root file system. The boot partition only needs to store a small number of files for which 256MB will be enough space. It is important to keep in mind that the Raspberry PI can only boot from FAT32 partitions. For the partition which contains the file system root, we can choose any filesystem supported by the kernel. In all the following examples we will use the ext4 file system and assume an SD Card size of 16GB.
flowchart LR
    subgraph SD Card 16GB
        id1(Boot Partition - FAT32 - 256MB)
        id2(System Partition - EXT4 - 15.7GB)
    end
Optionally, you can consider adding a third partition for kernel swap space:
flowchart LR
subgraph SD Card 16GB
id1(Boot Partition - FAT32 - 256MB)
id2(System Partition - EXT4 - 11GB)
id3(Swap Partition - SWAPFS - 4GB)
end
If you are unsure whether you need swap space and how much, I recommend reading this page.
Partitioning of the SD Card on Windows #
Windows ships with the tool diskpart which we will use to prepare the SD Card to boot Alpine Linux.
Warning!
Diskpart is a powerful tool which will permanently erase respectively destroy
all data on the selected drive. Please make sure that you are working with the correct disk.
Neither tomcore.io nor the author of this how-to is responsible for any data loss. Please read the diskpart
documentation
before you work with this tool.
Do not proceed if you are not sure what you are doing.
In order to partition the card on Windows execute the following steps:
- Insert your card into the SD Card Reader and connect the reader to your Windows PC
- If Windows shows any pop-ups about for example formatting the card, click on cancel and close all pop-ups
- If Windows auto mounts any volumes and opens the File Explorer close that as well
- Open the tool diskpart (Windows Key + R)
diskpartand press enter - Execute the diskpart command
list disk
Microsoft DiskPart version 10.0.19041.964

Copyright (C) Microsoft Corporation.
On computer: WORKHAUS

DISKPART> list disk

  Disk ###  Status         Size     Free     Dyn  Gpt
  --------  -------------  -------  -------  ---  ---
  Disk 0    Offline         232 GB      0 B
  Disk 1    Online          238 GB  1024 KB
  Disk 2    Offline         465 GB  1024 KB        *
  Disk 3    Online          931 GB  1024 KB        *
  Disk 4    No Media           0 B      0 B
  Disk 5    Online           14 GB      0 B
This example shows a PC called “WORKHAUS” with 6 disks and the last one is the SD Card (here identified by its size).
Please note, diskpart starts counting at 0, not at 1. Also, note that diskpart shows the disk capacity in Gibibytes which is less in absolute numbers than in Gigabytes.
Clean a previously used card #
If your card has been used before, you will first have to delete all existing data and partitions.
We are doing this by running the command clean on the SD Card Disk. The following example shows two pre-existing
partitions on the SD Card.
Microsoft DiskPart version 10.0.19041.964

Copyright (C) Microsoft Corporation.
On computer: WORKHAUS

DISKPART> list disk

  Disk ###  Status         Size     Free     Dyn  Gpt
  --------  -------------  -------  -------  ---  ---
  Disk 0    Offline         232 GB      0 B
  Disk 1    Online          238 GB  1024 KB
  Disk 2    Offline         465 GB  1024 KB        *
  Disk 3    Online          931 GB  1024 KB        *
  Disk 4    No Media           0 B      0 B
  Disk 5    Online           14 GB      0 B

DISKPART> select disk 5

Disk 5 is now the selected disk.

DISKPART> list partition

  Partition ###  Type              Size     Offset
  -------------  ----------------  -------  -------
  Partition 1    Primary              9 GB  1024 KB
  Partition 2    Primary           5192 MB     9 GB

DISKPART> clean

DiskPart succeeded in cleaning the disk.

DISKPART> list partition

There are no partitions on this disk to show.

DISKPART>
Create the partitions #
In this step, we create 2 (or 3 if you want to work with swap space) primary partitions as described earlier by running the diskpart commands below. A list of partition types is here.
DISKPART> select disk 5

Disk 5 is now the selected disk.

DISKPART> list partition

There are no partitions on this disk to show.

DISKPART> create partition primary size=256 id=0c

DiskPart succeeded in creating the specified partition.

DISKPART> create partition primary size=10240 id=83

DiskPart succeeded in creating the specified partition.

DISKPART> create partition primary id=82

DiskPart succeeded in creating the specified partition.

DISKPART> select partition 1

Partition 1 is now the selected partition.

DISKPART> list partition

  Partition ###  Type              Size     Offset
  -------------  ----------------  -------  -------
* Partition 1    Primary            256 MB  1024 KB
  Partition 2    Primary             10 GB   257 MB
  Partition 3    Primary           4696 MB    10 GB

DISKPART> format fs=FAT32 LABEL="bootpart" QUICK

  100 percent completed

DiskPart successfully formatted the volume.

DISKPART>
Note: If the partition label is called boot the Raspberry PI will not boot. Refer to this
bug for details.
At this point, Windows will usually assign a drive letter to the partition and might open a File Explorer window with the new volume.
Windows also creates a System Volume Information folder which is not a problem when booting Linux but also not very
Linux-like and you might want to remove it either now (by using the Windows console) or later on the PI.
Download and unpack Alpine Linux #
Download the latest Raspberry PI aarch64 Alpine version from the Alpine
website.
Next, unpack the gzip archive you have downloaded on your SD Card. To do so, you can either use a tool such as
7-Zip or the Windows 10 command
line tool tar, like this (assuming drive x is the SD Card):
C:\Downloads>tar -xvzf .\alpine-rpi-3.16.2-aarch64.tar.gz -C x:
x ./
x ./bcm2837-rpi-3-b-plus.dtb
x ./bootcode.bin
x ./fixup.dat
x ./bcm2711-rpi-400.dtb
x ./bcm2710-rpi-zero-2-w.dtb
x ./config.txt
x ./bcm2710-rpi-cm3.dtb
x ./start4.elf
x ./bcm2837-rpi-3-a-plus.dtb
x ./bcm2837-rpi-3-b.dtb
x ./bcm2710-rpi-3-b-plus.dtb
x ./apks/
x ./apks/aarch64/
x ./apks/aarch64/scanelf-1.3.4-r0.apk
x ./apks/aarch64/gnutls-3.7.7-r0.apk
x ./apks/aarch64/openssh-sftp-server-9.0_p1-r2.apk
x ./apks/aarch64/vlan-2.3-r0.apk
...
Once unpacked, you will see the content of the archive in the File Explorer Window for the SD Card.
Boot and Configure Alpine #
Remove the SD Card from the reader, insert it into the SD Card slot on the Raspberry PI and power it up. You will see Alpine booting in Diskless-mode:
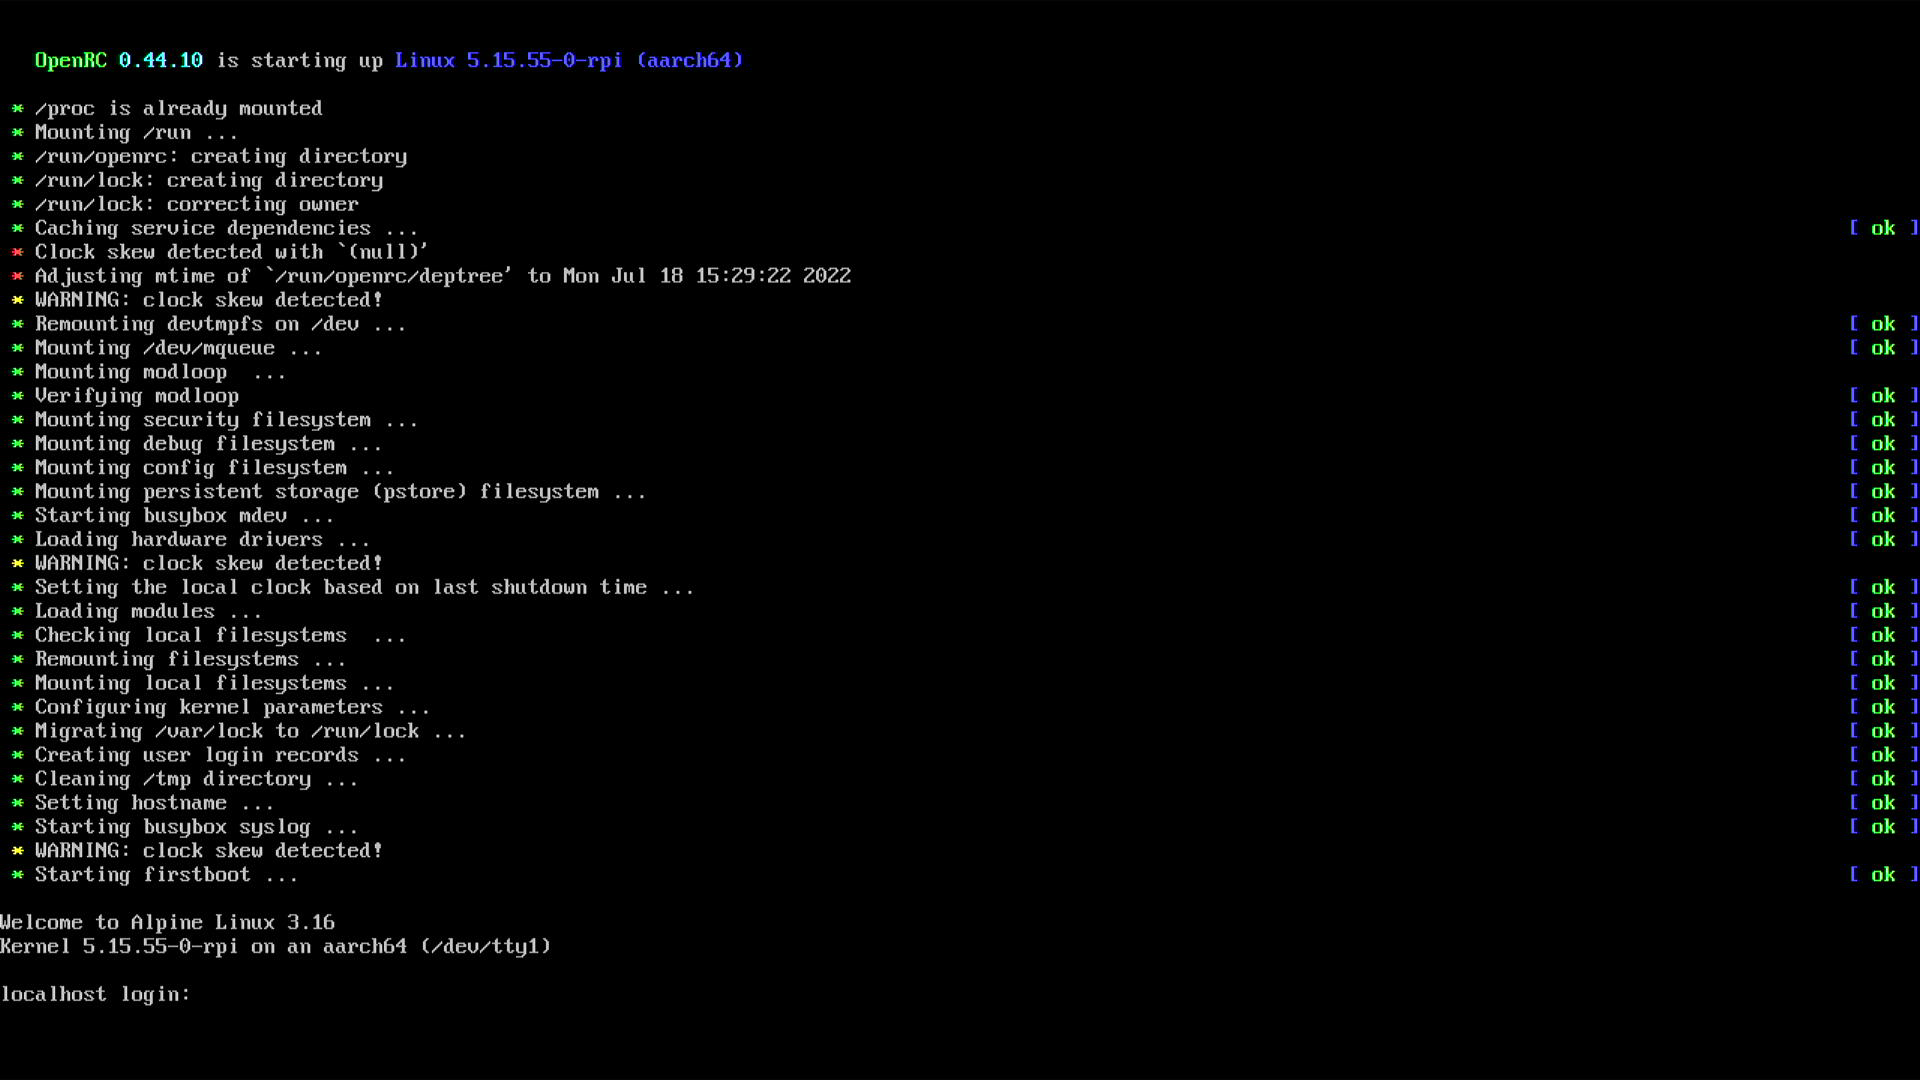
Login as root with no password.
Optional: Setup Keyboard #
Run the setup-keymap script to setup your keyboard:
pi:/# setup-keymap
Available keyboard layouts:
af  am   at  ba  be  br    by  ch  cn  de  dz  epo  fi  fr  ge  gr  hu  ie  in  ir  it  ke  kr  la     lk  lv  md  mk  mm  my  nl  ph  pl  ro  ru  si  sy  tj  tr  ua  uz
al  ara  az  bd  bg  brai  ca  cm  cz  dk  ee  es   fo  gb  gh  hr  id  il  iq  is  jp  kg  kz  latam  lt  ma  me  ml  mt  ng  no  pk  pt  rs  se  sk  th  tm  tw  us  vn
Select keyboard layout: [none]
Optional: Setup Proxy #
If you are behind an HTTPS or SOCKS Proxy run setup-proxy:
pi:/# setup-proxy
HTTP/FTP proxy URL? (e.g. 'http://proxy:8080', or 'none') [none]
Setup network interfaces #
Setup the Ethernet and/or the Wi-Fi interface by executing setup-interfaces:
pi:/# setup-interfaces
Available interfaces are: eth0 wlan0.
Enter '?' for help on bridges, bonding and vlans.
Which one do you want to initialize? (or '?' or 'done') [eth0]
Bring up the interfaces by running:
pi:/# /etc/init.d/networking start
Setup timezone and ntp client #
Run setup-timezone and setup-ntp to set up your time zone and start an ntp client (chronyd does the job)
# set your timezone
pi:/# setup-timezone
# setup and start ntp daemon chrony
pi:/# setup-ntp
# check date / time and have been updated successfully
pi:/# date
Setup APK Repository #
pi:/# setup-apkrepos
The script will ask you to choose your preferred mirror of the Alpine repository. If you are unsure choose the option “Detect and add fastest mirror from above list `
Install Alpine #
Format system partition #
# Install file system tools (mkfs.ext4)
pi:/# apk add e2fsprogs
# Format 2nd partition with ext4
pi:/# mkfs.ext4 /dev/mmcblk0p2
# Mount 2nd partition under /mnt
pi:/# mount /dev/mmcblk0p2 /mnt
Optional: Format and enable swap partition #
# Format 3rd partition as swap space
pi:/# mkswap /dev/mmcblk0p3
# Enable swap space
pi:/# swapon /dev/mmcblk0p3
# Enable swap space upon booting
pi:/# rc-update add swap boot
Run setup #
# Force the installation script to accept non FAT filesystems on the PI
pi:/# export FORCE_BOOTFS=1
# Optional: Declare the swap partition
pi:/# export SWAP_DEVICES=/dev/mmcblk0p3
# Alpine 3.16 will not automatically create this directory. Alpine 3.20 does.
pi:/# mkdir /mnt/boot
# Run installation script
pi:/# setup-disk /mnt
# Remount boot partition as read-write partition
pi:/# mount -o remount,rw /dev/mmcblk0p1
# Remove all files
pi:/# rm /media/mmcblk0p1/* -r
# Copy all files required for booting from the new installation to the boot partition
# Ignore warnings
pi:/# cp -r /mnt/boot/* /media/mmcblk0p1/
# Boot the new Alpine installation
pi:/# reboot
The Raspberry PI will restart and boot a new Alpine Linux installation.